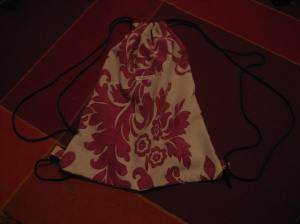
I’ve just made this fun little backpack:
Here’s a little step by step guide of how to make one for yourself.
The How-To guide:
Materials needed – fabric. cord.
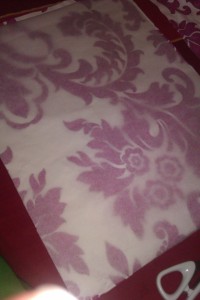
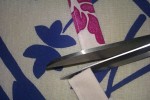
1. Find some nice fabric and cut out a rectangle. I used a duvet cover. So, the fabric was already folded in half. With the crease at the bottom, measurements I used were: 45cm x 35cm. [Here I cut out the shape with greasproof paper first.]
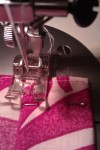
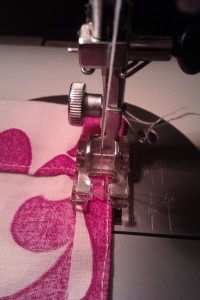
2. Turn the fabric inside out, so wrong side is showing. Along each of the long sides, fold in 1 cm. Iron it flat, pin it down and sew all the way along. Sew as close to the edge of the fabric as possible.

3. Along the shorter edges, again fold in 1 cm and iron. This time don’t pin, but fold 2 cm over again, then iron, pin and sew. Sew as close to the fold as you can. This is to allow a 2cm gap for the cord to thread through.
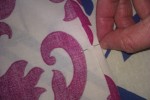
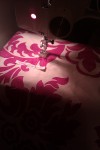
At this point, you may like to add some decoration to the right side of the bag. Eg I sewed on my Evie name tape in the middle. You can add any decoration you fancy.
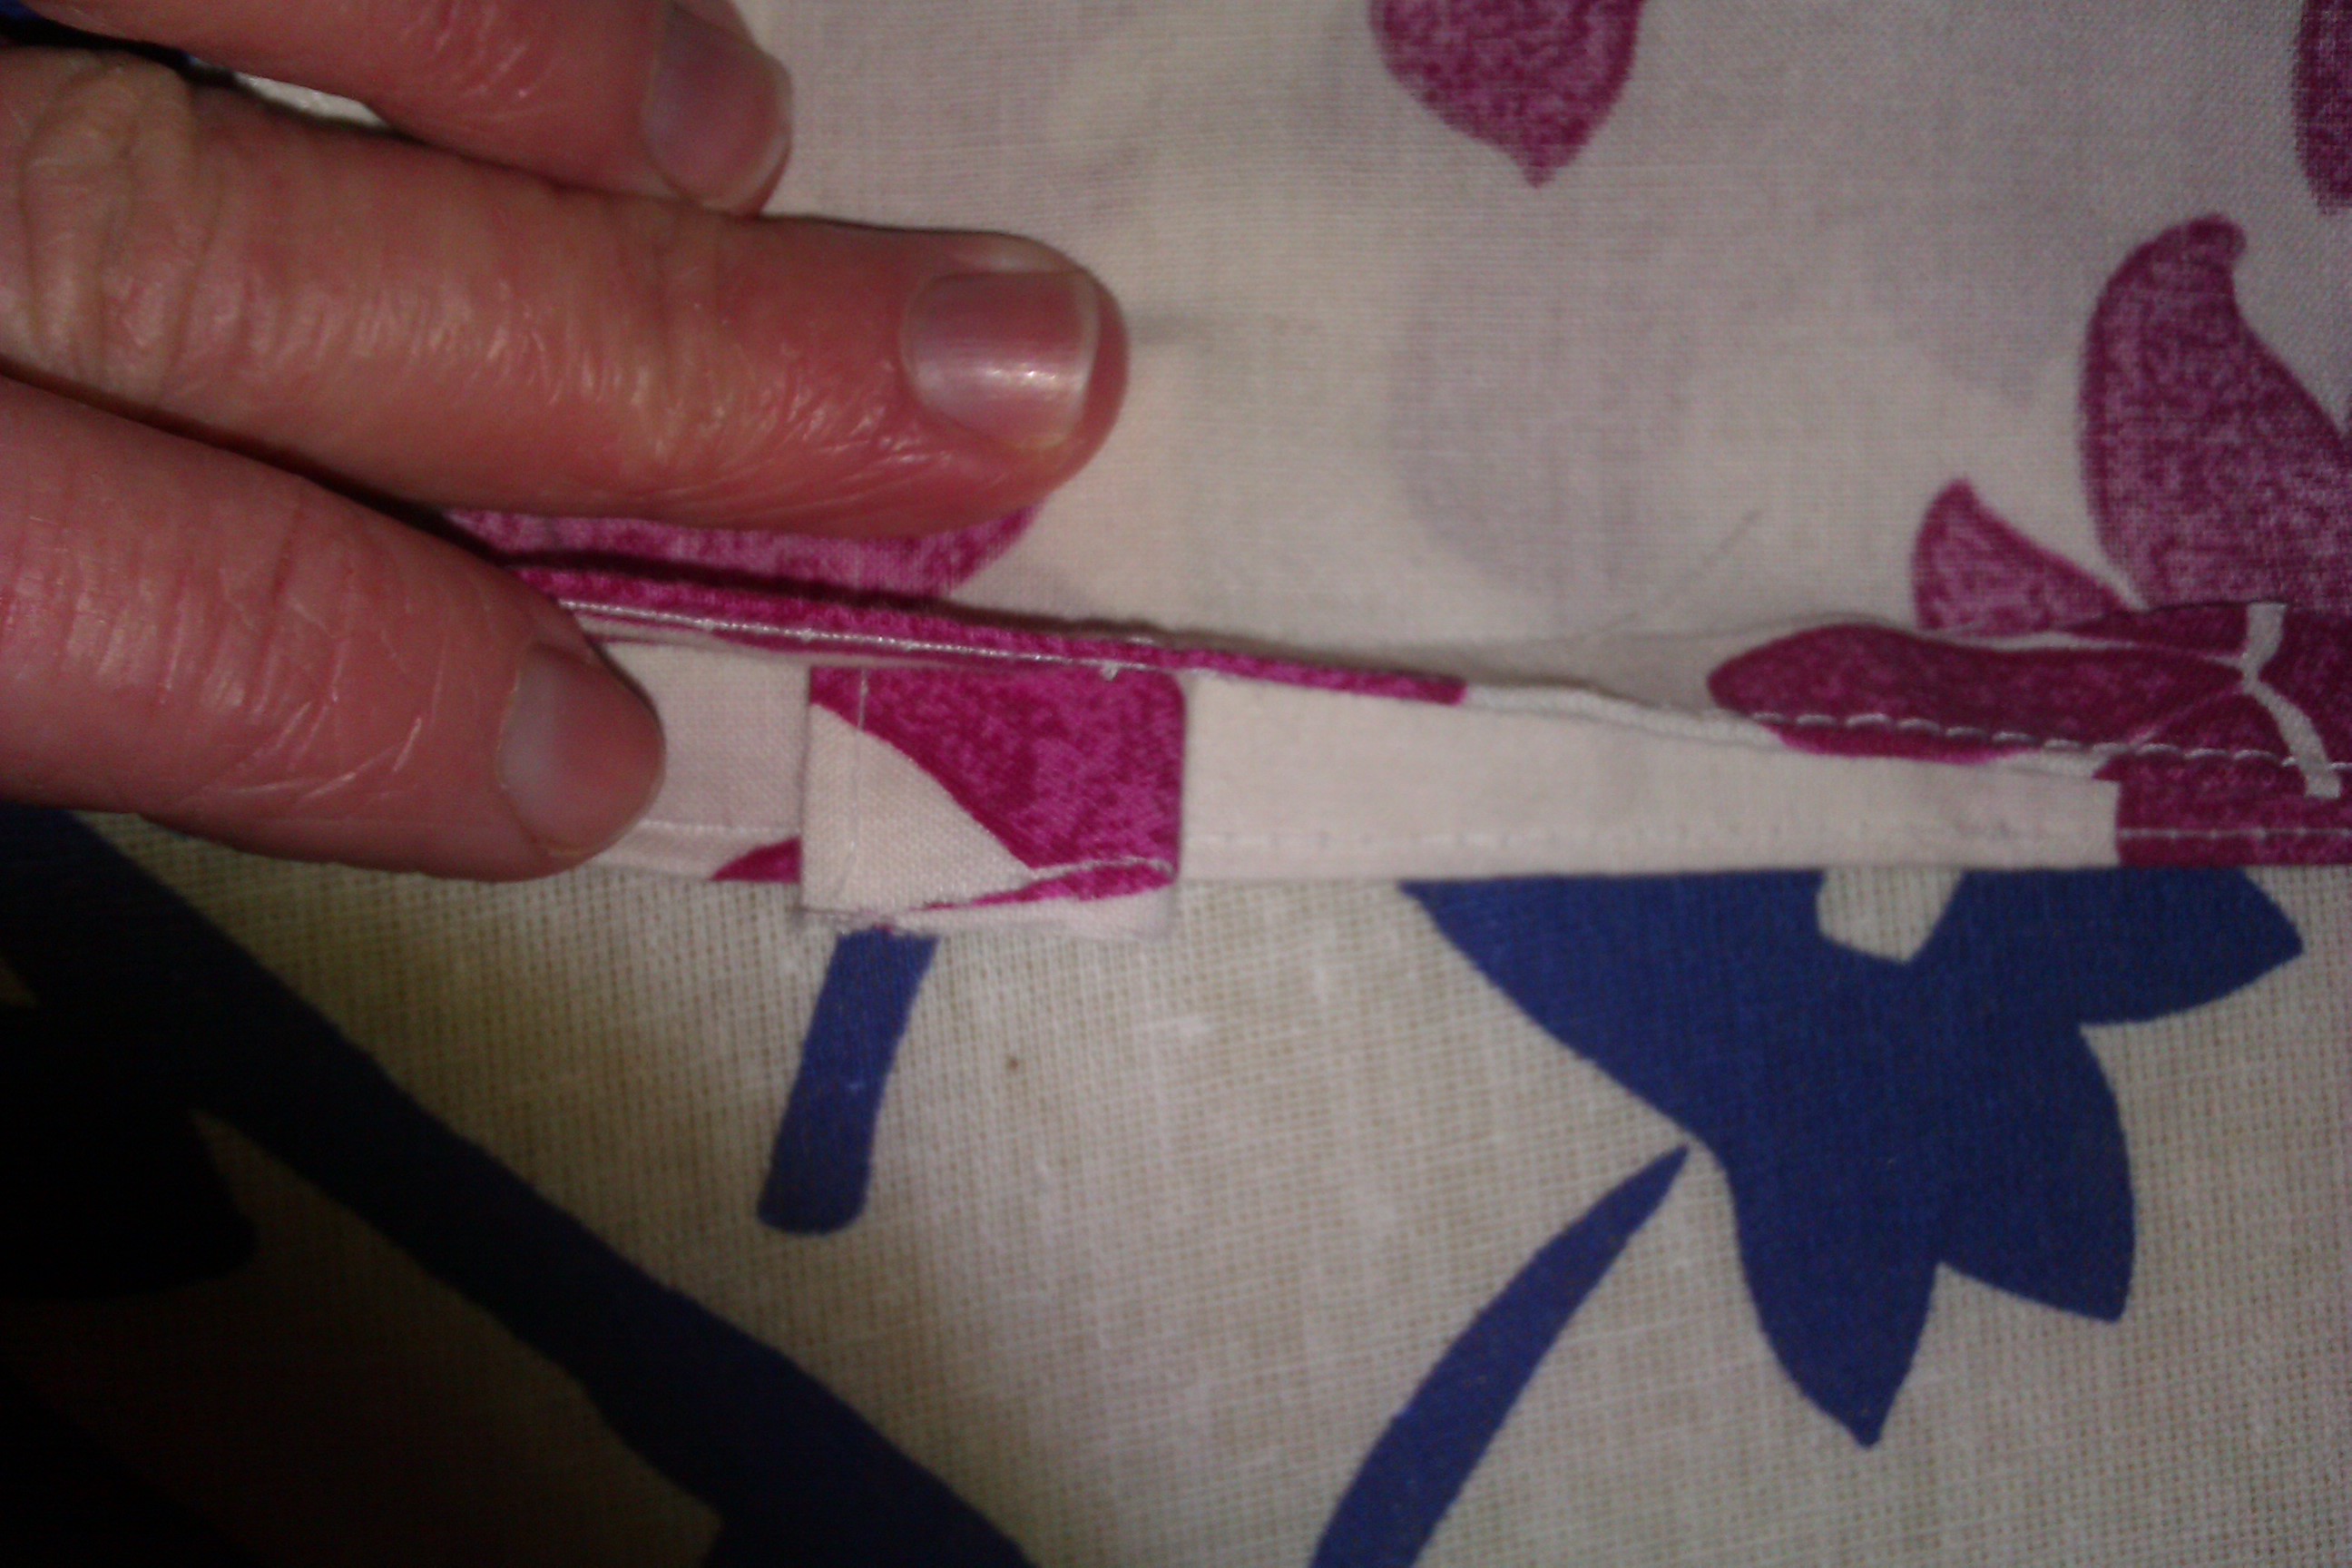
4. Now make some tabs for the cord to string through at the bottom of the bag. For this, cut a 8cm width band of fabric. Put it on your ironing board. Firstly, fold it in half, iron it. Then bring in the edges towards the middle, iron down. Then fold it in half, iron together and sew along the edge where the fabric meets. Then from this 2cm narrow band, cut 2 5.5cm pieces.
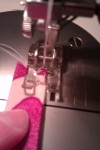
5. Now we’re about to sew the bag together. Fold the bag in half, so wrong sides are facing out (right sides together). You want to place the loops down towards the bottom of the bag. Taking one tab at a time, fold it in half and place it in between the bag fabric, so it’s wedged between the ‘right’ sides of fabric. You should just see a few mm peeking out. So the loop is unseen, facing inwards. Pin it in place. Do the same with the other side.

6. Now for the sewing. Make sure you start just beneath our 2cm loop at the top. Go close to, but to the left of your existing line of stitching. Go all the way down, making sure the tab is sewn in. You may like to back up with zigzag, covering the edges you have sewn (I cheated and missed this step out!) Do this for both sides.
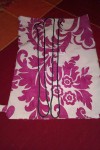
7. Now turn the bag the right way out.
 Finally need to add in the cords.
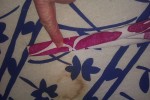
 I used cords which were each 4 times the length of the bag. I use a hair grip for this.
 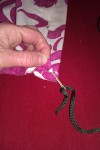 Loop the cord between the grip and feed it through the hole at the top, all the way around both sides.
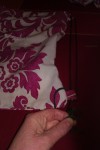
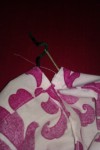 Then go down and secure it at the tab at the bottom. Repeat with the other piece, this time feeding through from the other side of the bag to start with.
8. Et voila! Your Evie knapsack is ready for action!